One essential ingredient to getting your newborn to sleep well is room darkening shades. Around Kate’s fourth month of age two things happened–we moved her to her crib and she started becoming more aware of her surroundings. I decided it was a good time to get some room darkening shades to help Kate with her daytime naps and her before sunset bedtime. I scoured the internet for either a darkening liner that I could attach to her current bamboo shade or even a second set of darkening shades that I could hang underneath what she currently has, but I found it impossible to find anything that was the right size, or even close to being affordable.
Time for my first post-baby DIY project!
I went to JoAnn Fabrics where I picked up some black-out lining on sale for less than $5. The width of the fabric turned out to be exactly the measurement I needed lengthwise for my window, so my window width became my cut measurement.
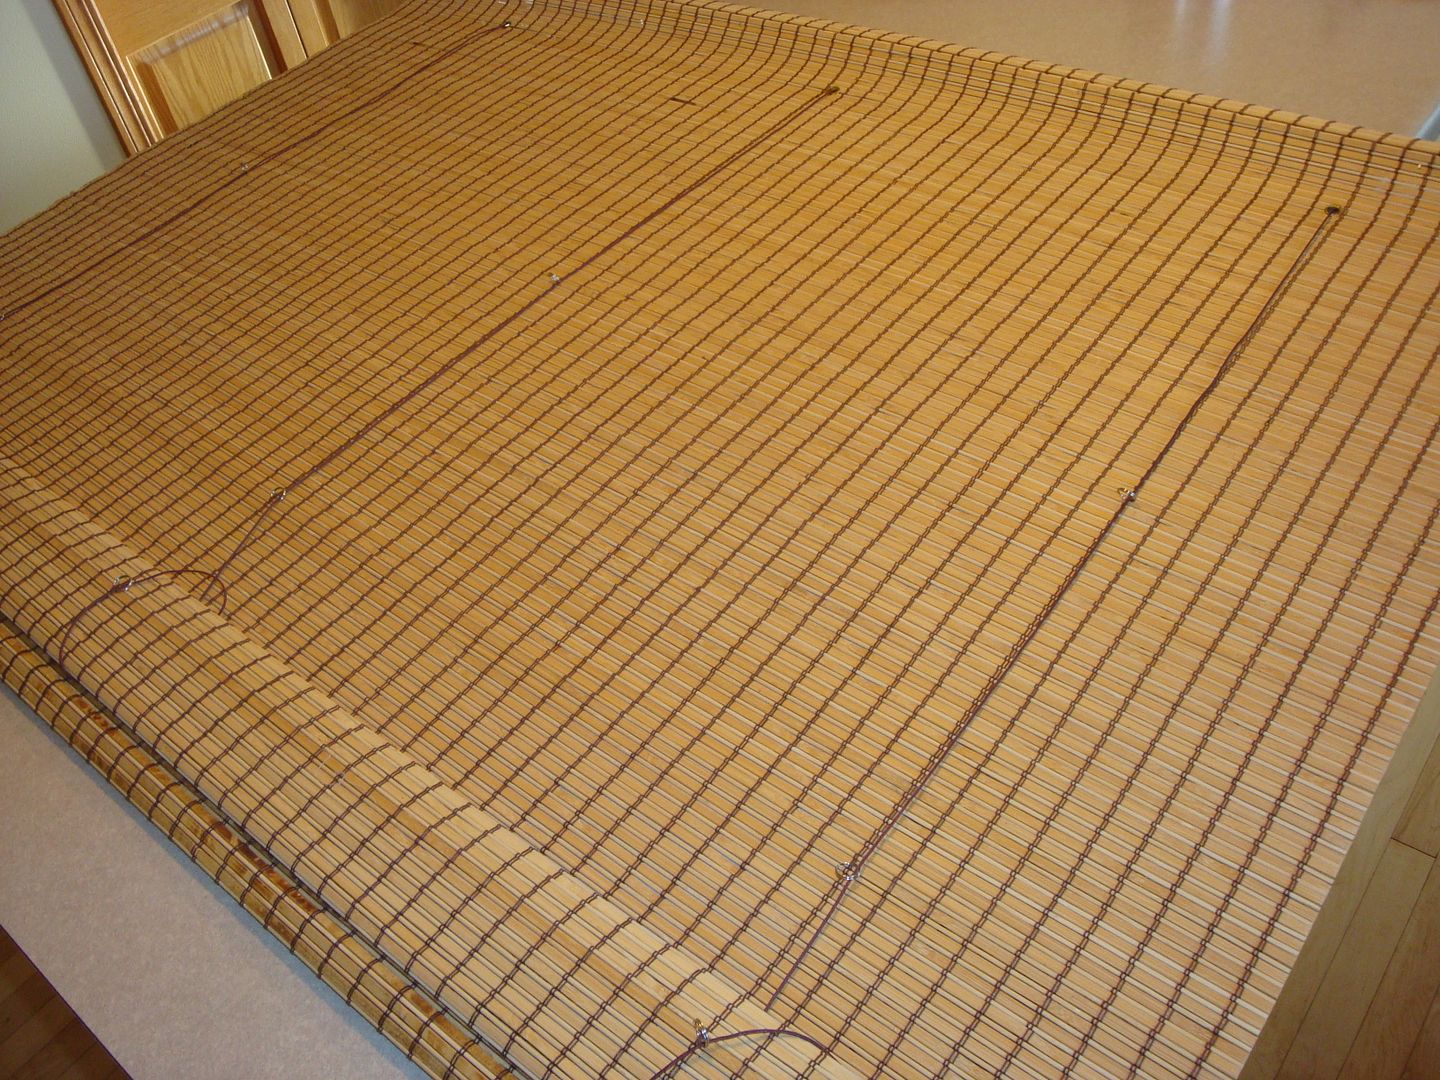
I removed Kate’s current shade and placed it face down on the kitchen island:
Then I laid the black-out material over the shade and trimmed off any excess:

As you can see, I didn’t bother with ironing because honestly, who’s going to see it? Besides, the fabric is a lightweight vinyl kind of fabric, so I can’t imagine it’s that easy to iron without melting. Nobody wants that kind of mess.
Pinning fabric to wood isn’t the easiest of tasks, so I marked little x’s on one row at the top of the shade to make sure my fabric stayed lined up as I worked:
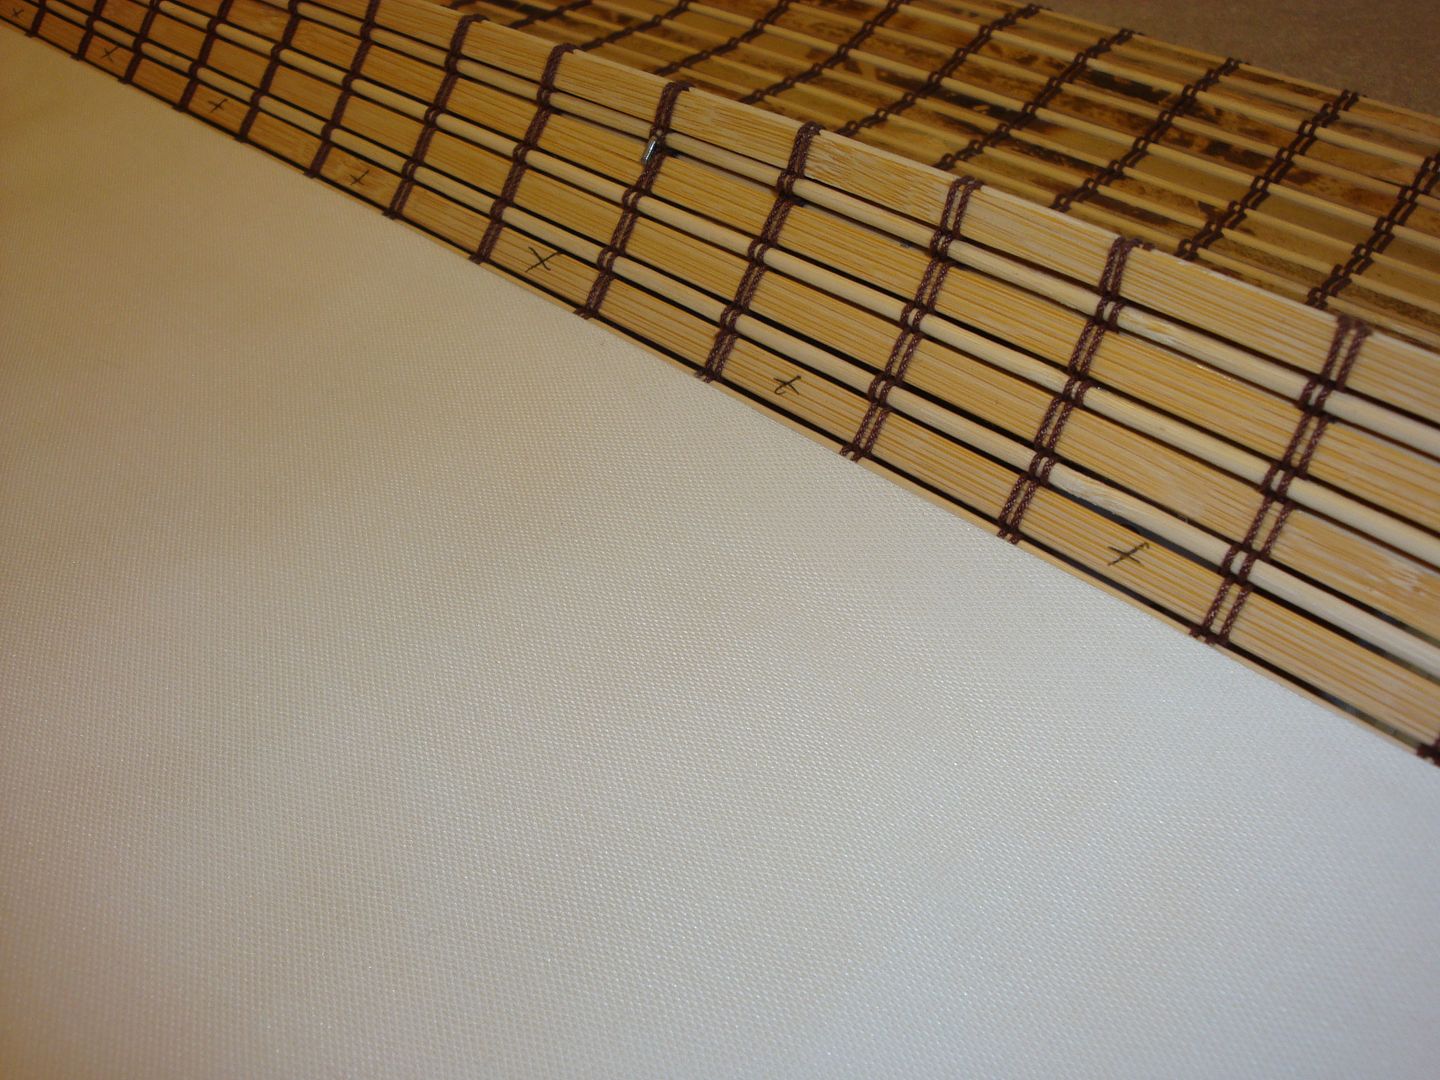
Next, I used leftover embroidery floss from my DIY upholstered headboard project, and a curved upholstery needle to sew the lining to the shade. I used brown floss and put the stitch around the thinnest band of wood in the blinds–right in between the brown stitching that’s already on there so it would blend in unnoticed–and just knotted off the tails:
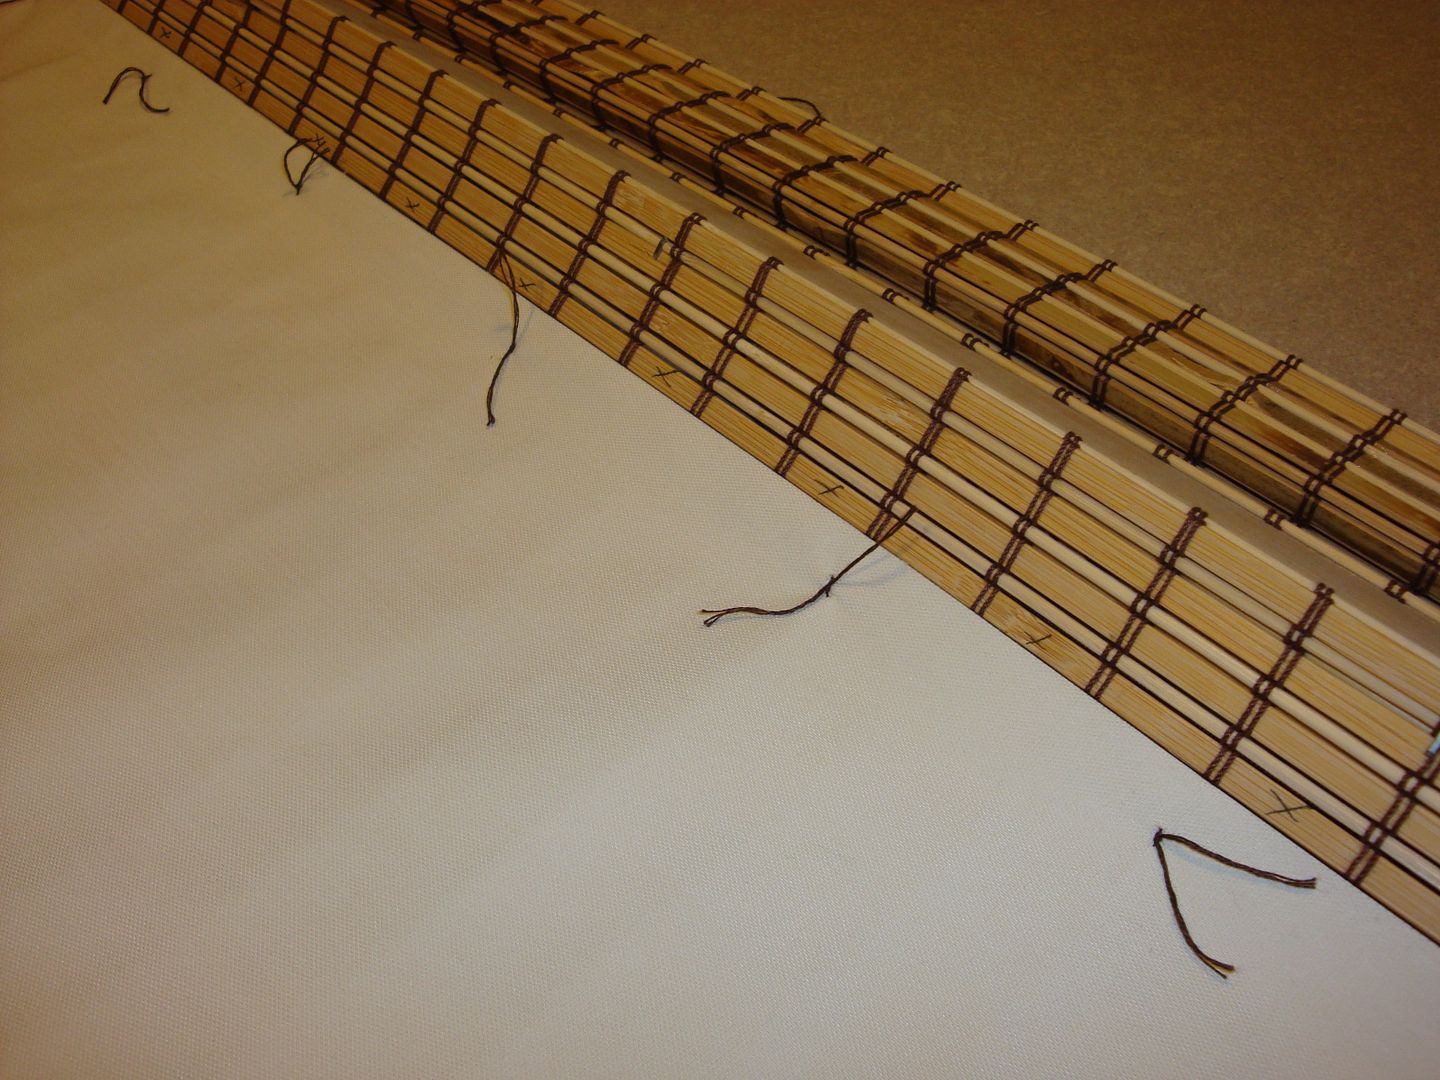
I found when installing a privacy liner (that I overpaid for!) to the back of the bamboo roman shade in our master bedroom that it’s important to secure the fabric not only to the top and sides of your blinds, but also all throughout the middle. If you skip securing the lining throughout the middle of your shades your lining fabric will puddle and hang down below the bottom of your shade when your shades are open. Not pretty. So next I got to work stitching the fabric all throughout the shade:
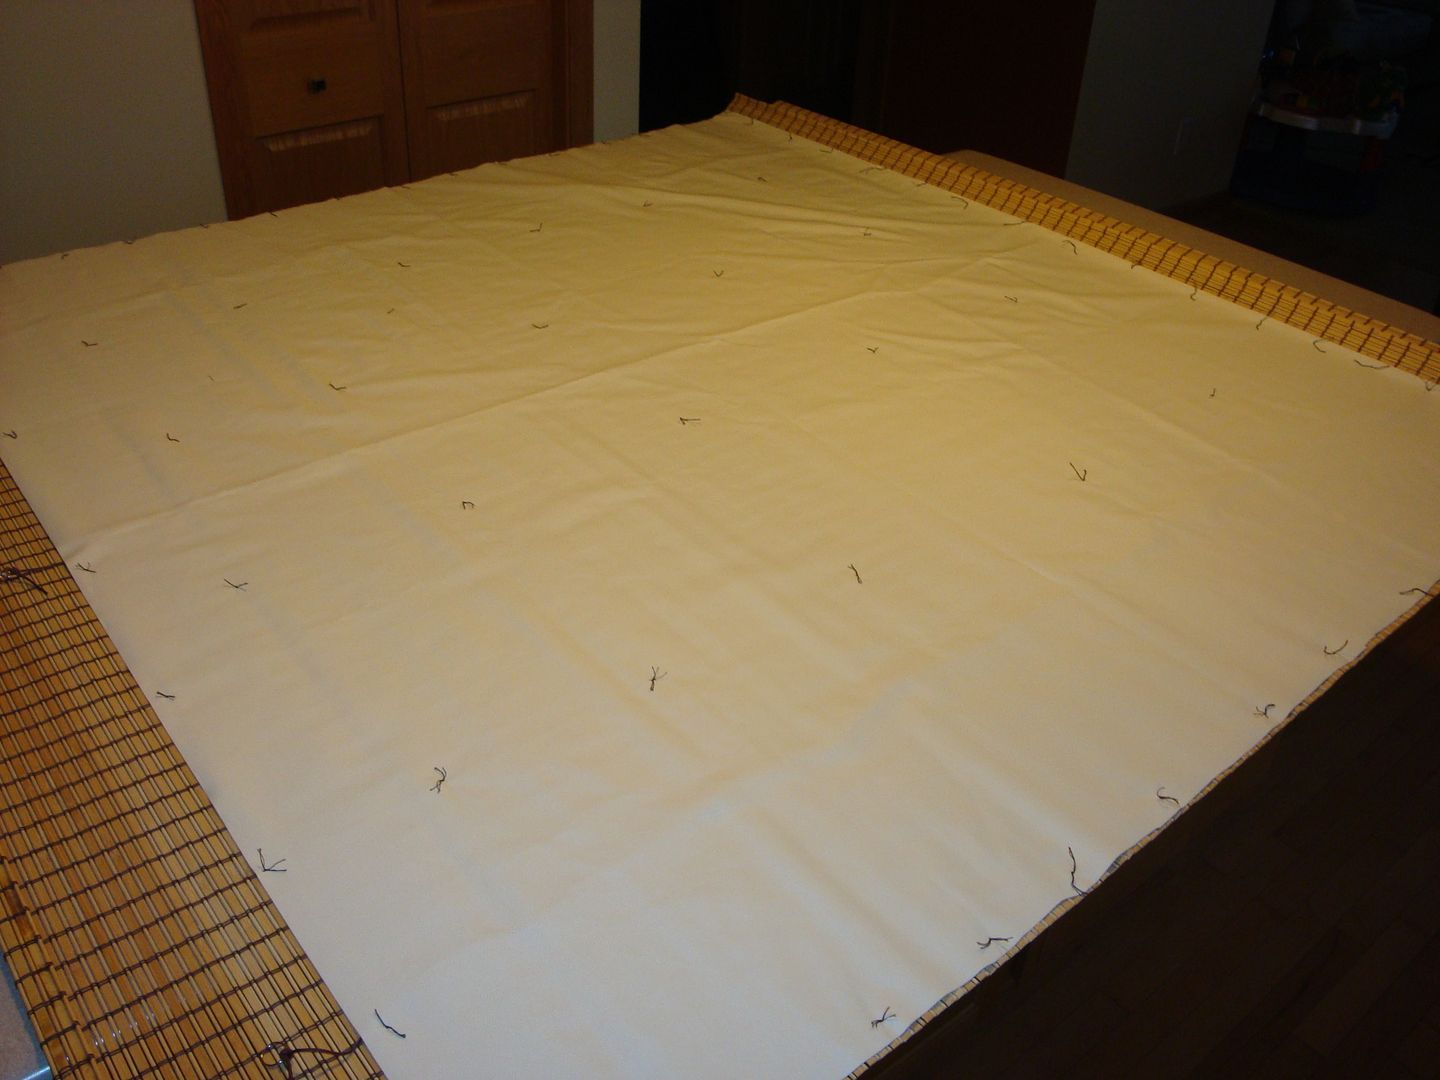
Be sure to keep the cords of your shade straight and out of the way while you do this–you don’t want to accidentally catch them while you’re sewing.
A rehang of my shade, and the task was complete!
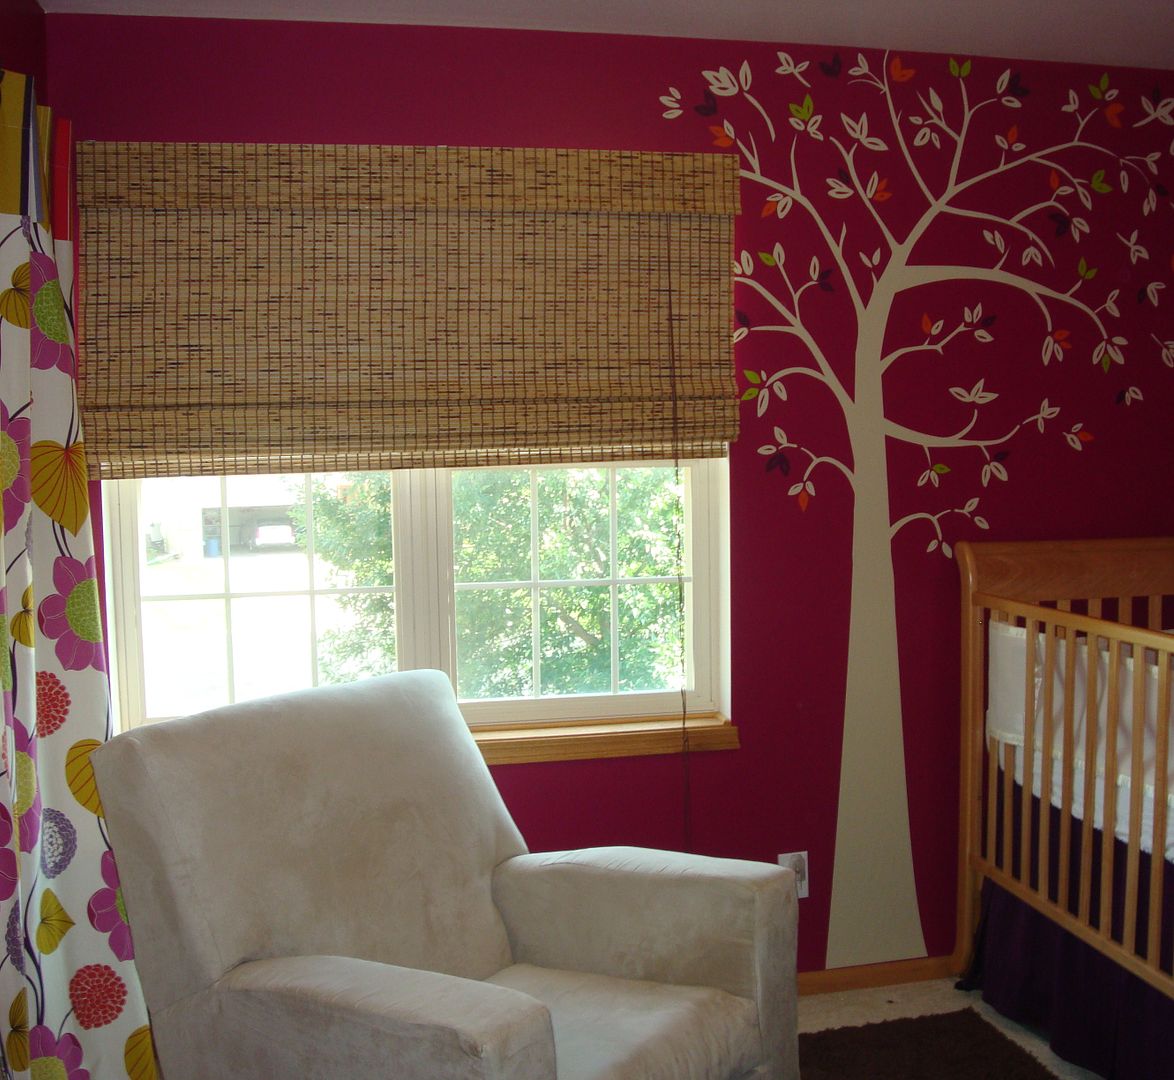
I’d show you an “after” photo of the new and improved shade actually doing its job and blacking out the room but…well…the room is blacked out.
So there you have it–an easy DIY room darkening shade for under $5 and completed in less time than it takes to drink two glasses of wine! (I timed it.)

Looks great! I love the tree on the way too!
That’s so smart! When you said you scoured the internet and couldnt find anything I thought you were going to say you ended up going out and replacing the whole thing! DIYing it was a much better idea and it turned out so well!
Looks great — stitches throughout were a good solution to keep everything lined up! And no need for an after photo, since your sunny photo shows how well it blocks sunlight that would have come thru the cracks.
new momma to be question – does blacking out make a lot of difference? how imperative is it to make the room really dark?
Looks great. Glad to see the curtain cord isn’t too close to the bed – I’ve heard about too many sad, sad accidents happening with curtain cords strangling toddlers, so make sure it stays clear of the crib!
Your shade looks great! so great in fact that I decided to try and do the same thing – only mine didn’t seem to work out as great as yours! Mine is a roman shade and when I try to open the shade, it doesn’t fold smoothly in any more, it just bunches all up…….any suggestions? I’m not entirely sure what I did wrong.
Thanks! Megan
Ohhh Love this idea!! Im going to try it!
Thanks so much for your comments everyone!
@Aevan Arts–It seems to have helped Kate’s sleeping. When she was younger (less than 4 months old) she took all her naps in the Pack N Play in our living room and the daylight never bothered her. We moved her to her crib at 4 mos old and at around 5 mos old she started not sleeping as well, so we thought we’d give this a try. The black-out shades helped b/c I think she was more aware of her surroundings at that age. Plus, the sleep book I read recommended them, so I figured it wouldn’t hurt.
@Megan–My guess is you need more stitching throughout the shade. Have you tried that?
Ah, thanks! We haven’t got room for a nursery in our tiny apartment, so we’ll have to jerry-rig some solution once that becomes an issue. ~Kat
I am so glad you posted this! I bought the same shades and lined them but used hot glue…needless to say I can not get the lining to stay on…I am going to buy some embrodery floss tonight! Thank you.
OMG!! i love that room…found your blog through another…at this point not sure which one..lol..thought i would give ya a thumbs up on this room.
I was searching for tips on lining my shades and came across your instructions. How has the liner, and the way you attached it, held up over time? I bought a liner from Target only to find that it is really too narrow. I never thought of checking at JoAnns but if this works, I’ll get my next bit of liner there. I can’t tell by your photos, but I think my shades have a lot more eye rings than yours. You said you tied to the bamboo – what did you do about the eye rings? Thanks for any tips you can add.
@Marti – the liner and shade has held up perfectly! I just worked around the eye rings when I tied the liner to the bamboo, making sure I wasn’t disrupting the shades mechanics to open and close. Hope that helps!