Okay, so remember when I posted about the end of our framing process and was all, “You guys – it totally looks like a house now!”? (It was the penis/pantry/ultrasound one…you remember.) I really thought it did but some of you were still all, “Yeah…no.”
This post is for you.
The drywall is up and now it really, really looks like a house! If you can’t see it yet I have two things to say:
- More posts are coming. You’ll get there.
- Don’t quit your day job to pursue a career as a house envisioner, ultrasound technician, or professional Where’s Waldo finder. Know your strengths.
Presenting – the drywall! I have so many pics of this stage of our home building process that I’ve decided to split this up into two posts: downstairs drywall and upstairs drywall (coming next).
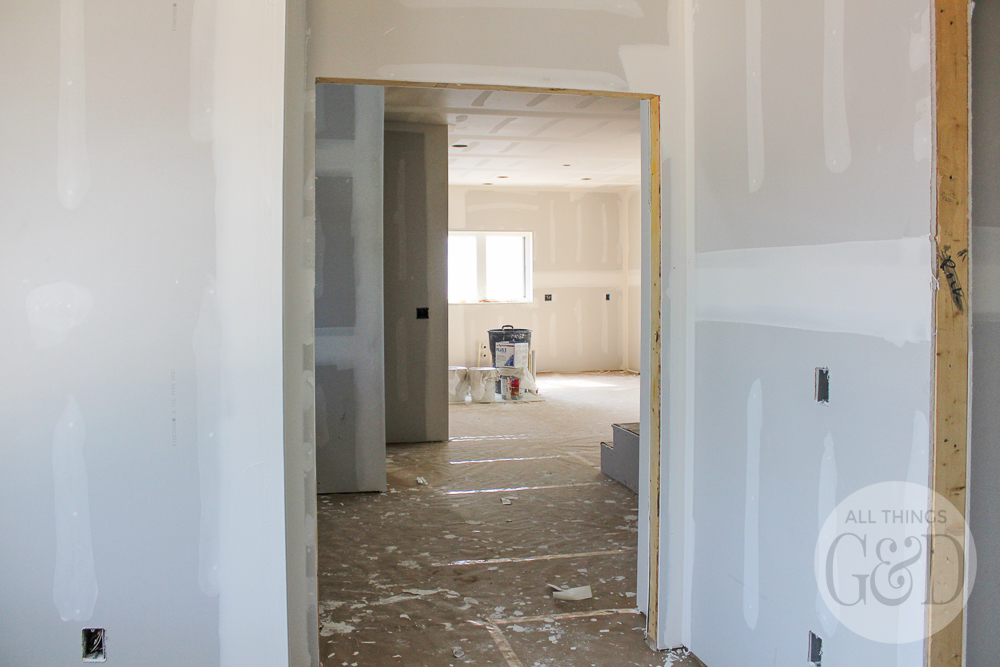
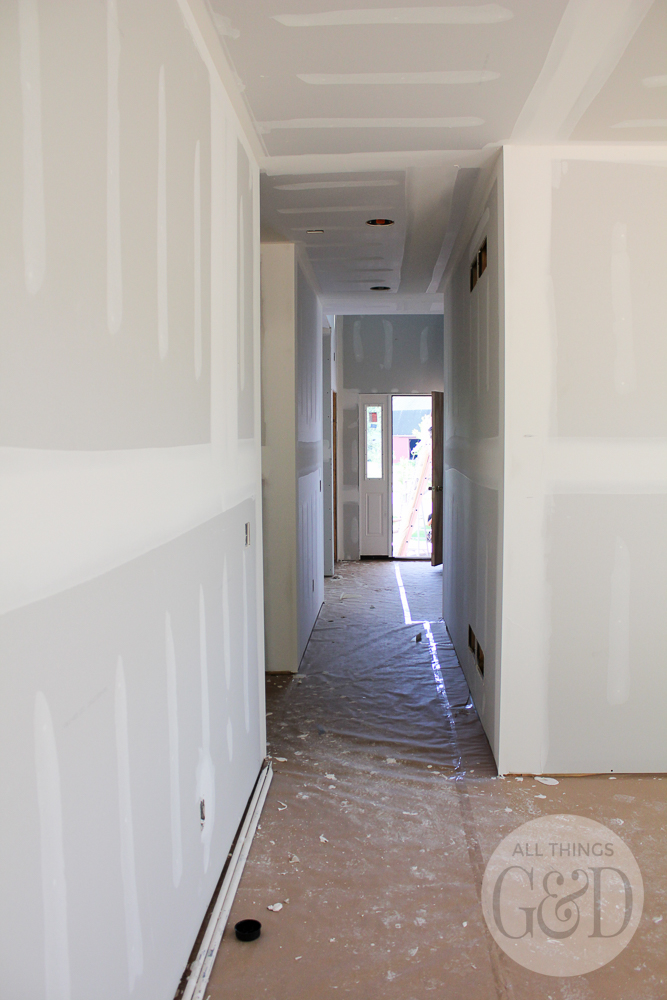
Here’s a look at things from the entryway. This picture was taken in the far right corner of the entryway (not straight on) so you can see the hallway to the right that leads to our master bedroom (that little alcove on the right) and our dining room (straight ahead). G’s office (not in frame) is to the immediate right, and the kitchen (not in frame) is to the immediate left. At the far left in back you can see the living room and the fireplace insert installed (currently covered in cardboard).
Entryway
The picture below was taken at about where the kitchen starts, looking back toward the entryway. You can see our temporary front door – they install temporary door that can get banged up while they’re still working and then the permanent door is installed later – and our sidelights. Immediately to the right of the front door (as you’re walking into the house) is the coat closet. Just past that is G’s office. Coming to the far right in the picture below you can see the short hallway that leads to our mudroom/laundry room, and our powder room (which would be straight ahead if you were standing in the hallway, looking straight on). That cutout you see to the left is our pantry. Directly across the pantry doors is our door to the mudroom/laundry room.
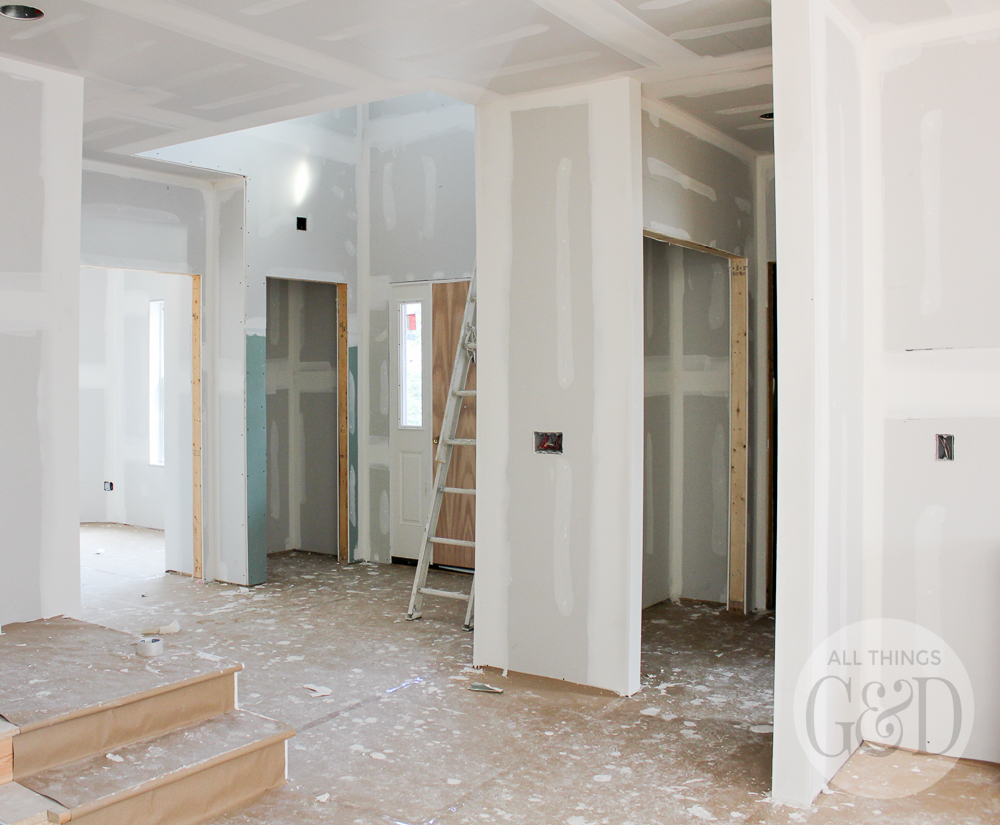
Entryway
Here’s another look at the pantry hallway. For this picture I’m standing in front of our future powder room and the pantry is on the right, and the door to the mudroom/laundry room is on the left. That’s the stairs straight ahead.

Pantry
Our mudroom and the door to go out to the garage:
Mudroom
Back to the entryway area – here’s a look at G’s Office:
G’s Office
A look out toward the entryway and kitchen from G’s office:
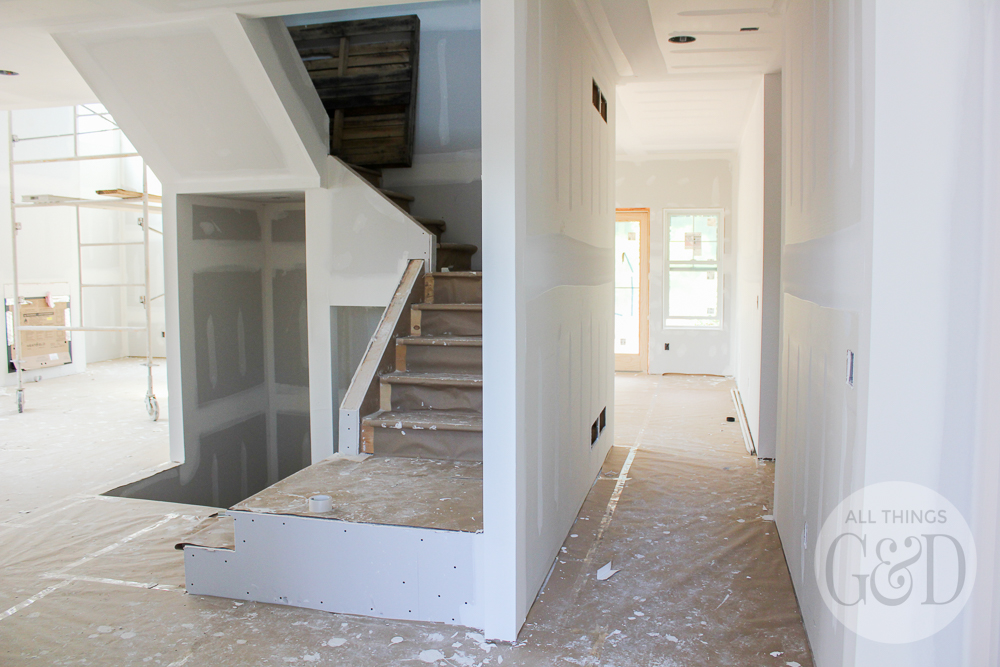
A look at the stairs from the kitchen. The entryway (not pictured) is toward the right and the dining room is in the back left of the photo. The entire main floor is pretty much centered around the staircase. I’m standing in the kitchen for this picture and if you go clockwise the living room is to my left, then the dining room, then our master bedroom, then G’s office, then the entryway, then the powder room, and the mudroom/laundry room.

Another look from the kitchen – dining room to the left, stairs straight ahead, G’s office at the far back right, and the entryway:
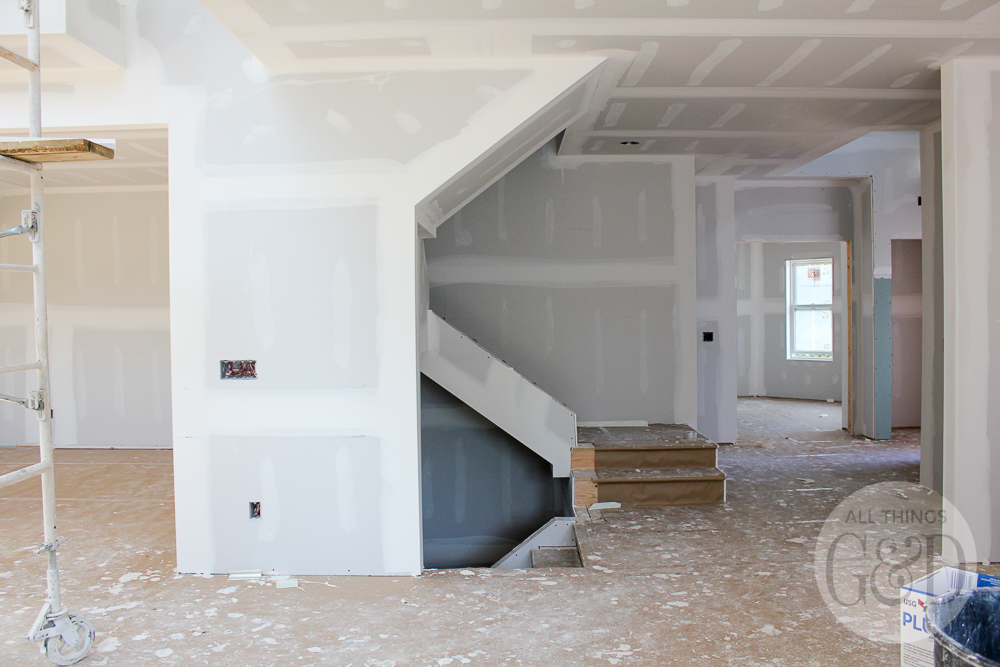
More of our square-shaped staircase:
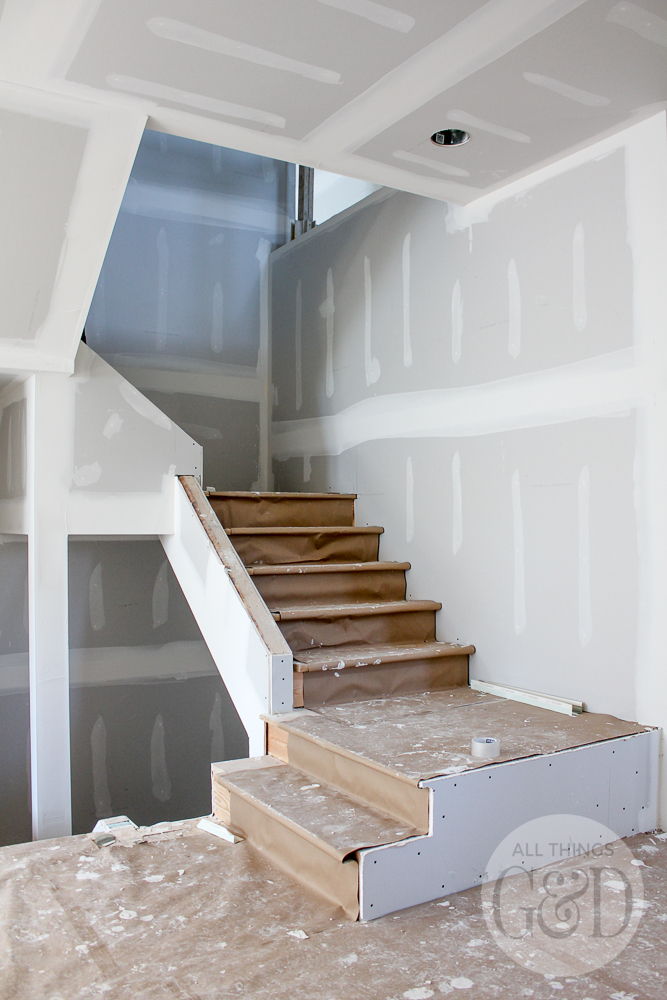
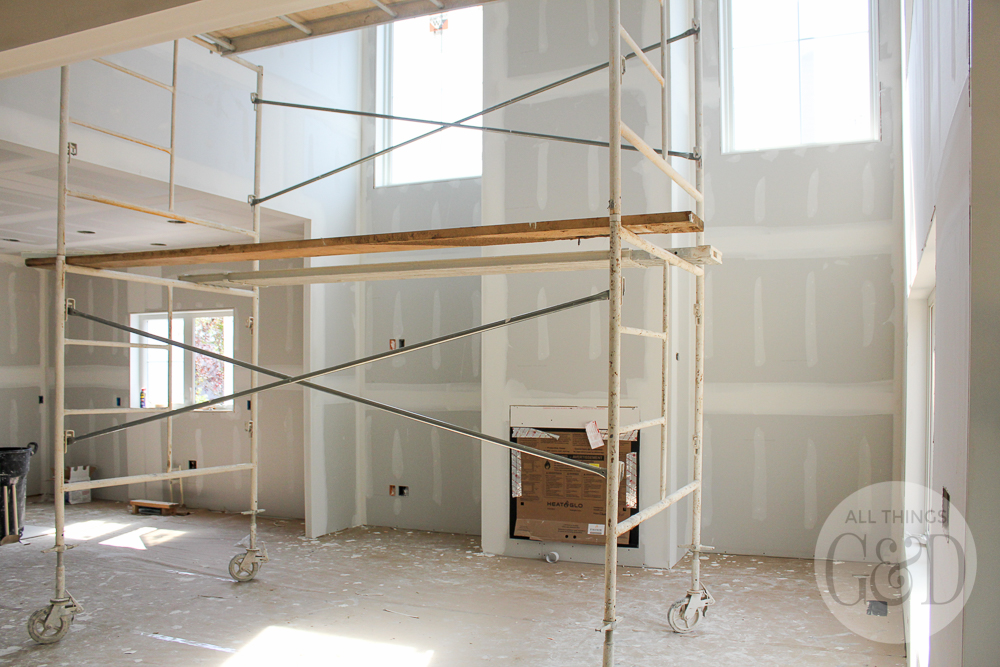
The kitchen (left) and living room (right) as seen from the bottom of the staircase.
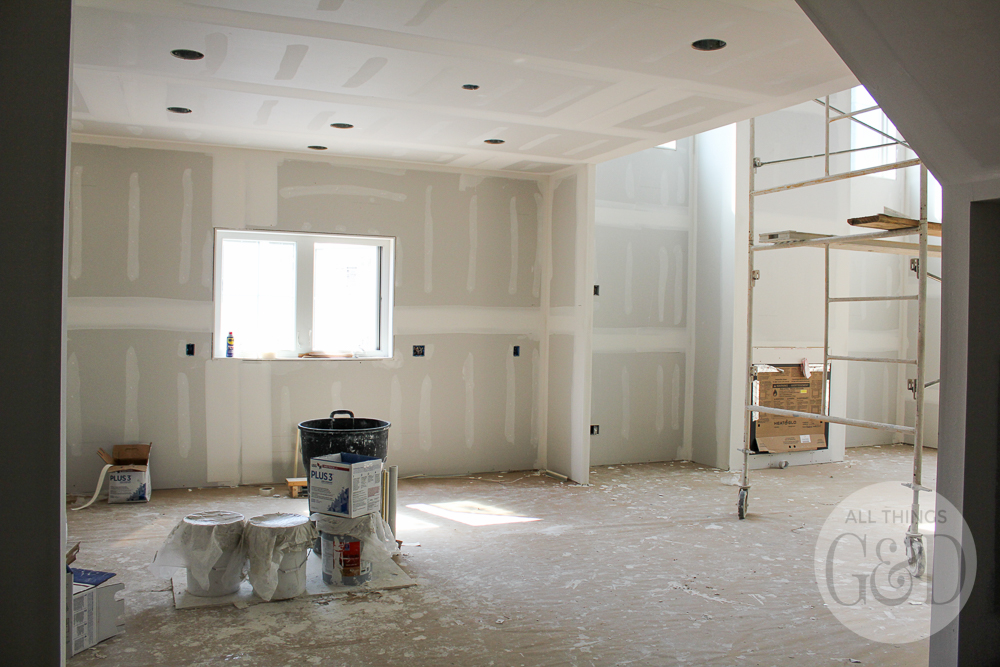
Kitchen
Looking into the living room from the kitchen. That scaffolding is our first piece of furniture. I hope you like it.
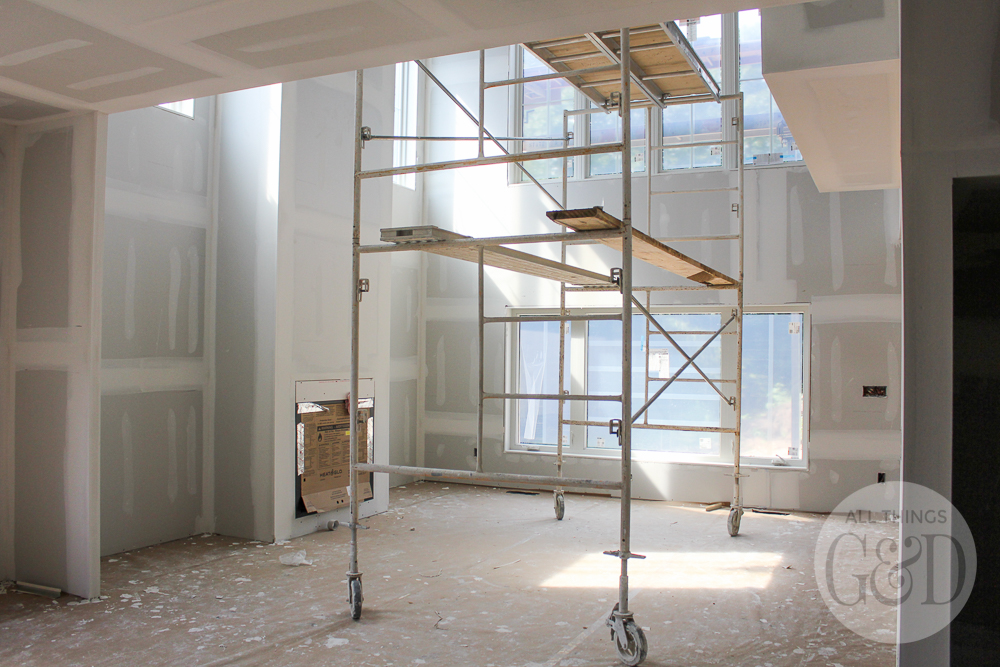
Living Room
More living room:

Living Room
Living room and dining room. You can also see the indoor balcony off my upstairs office over the dining room:
Dining Room
Our dining room from the other side of the living room. You can see the pipes sticking out where the wet bar/buffet will be, and the entrance to our master bedroom in the hallway beyond.
Dining Room
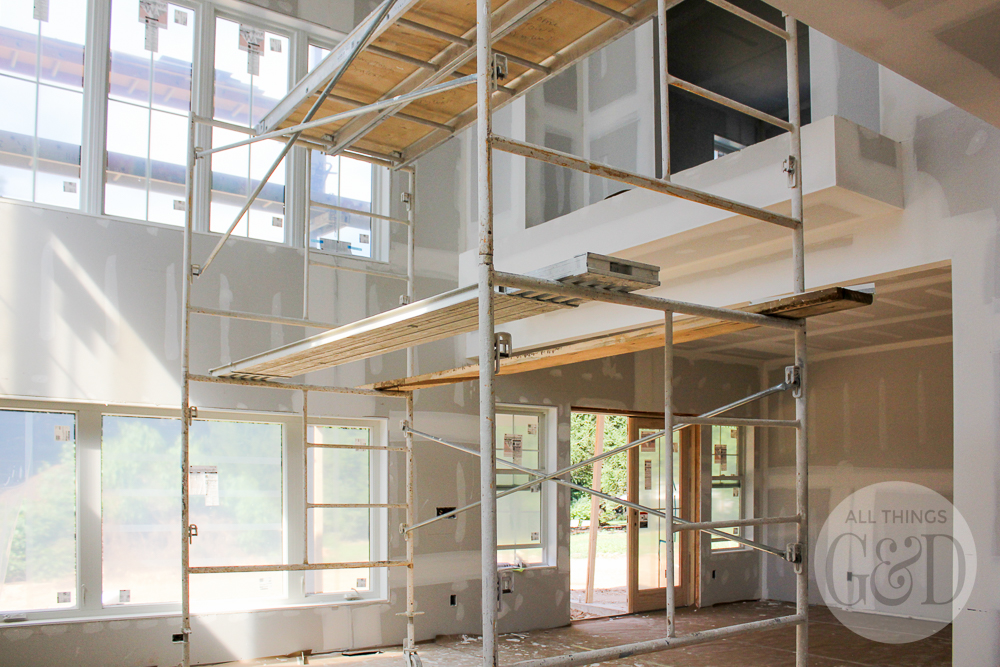
A look back at the living room and kitchen from the dining room, and our double-height fireplace all drywalled up!
This picture below was taken from our dining room, looking back toward the entryway/front door. You can see the little alcove cut out for our master bedroom entrance at the left in the hallway. I like how our master is on the main floor so it’s easily accessible for us, but it’s also pretty private tucked over here in this hallway. Most people would not walk down this hallway unless they were heading to our bedroom since the rest of the main floor is so open. With the dining room and stairs in between, there is also a nice separation between our master bedroom and the living room, so if one of us wants to go to bed early we won’t be kept awake by the other one watching TV in the living room.
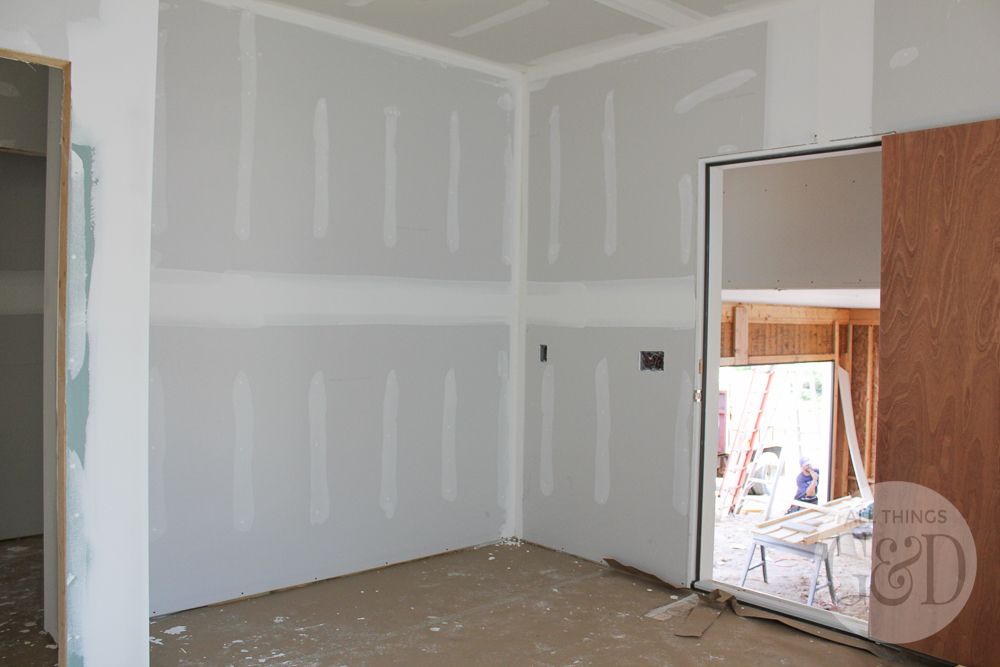
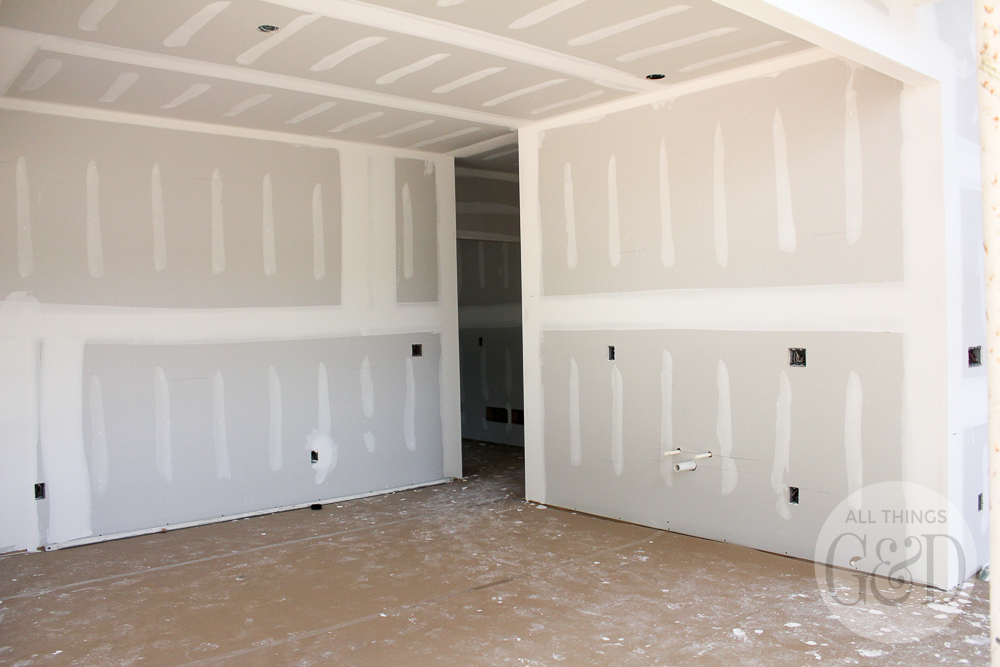
Our master bedroom. This picture was taken from the entrance to the master bedroom. At the far right back corner you can see a cutout – this leads to our closets and master bathroom.
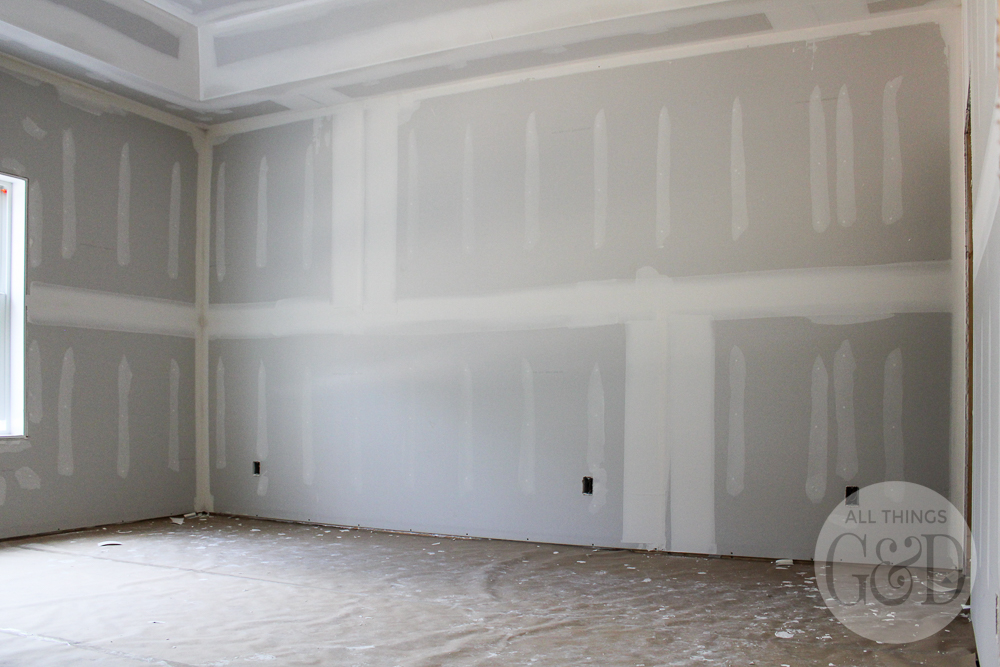
Master Bedroom
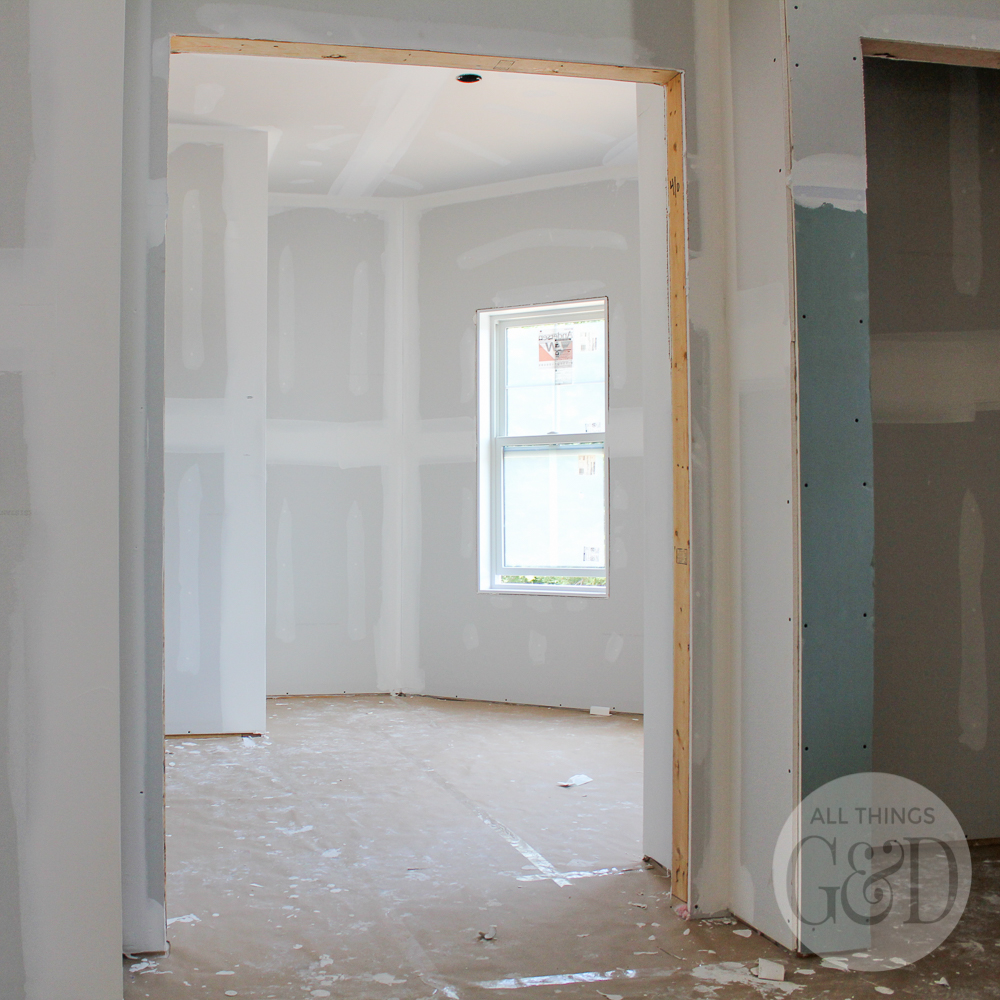
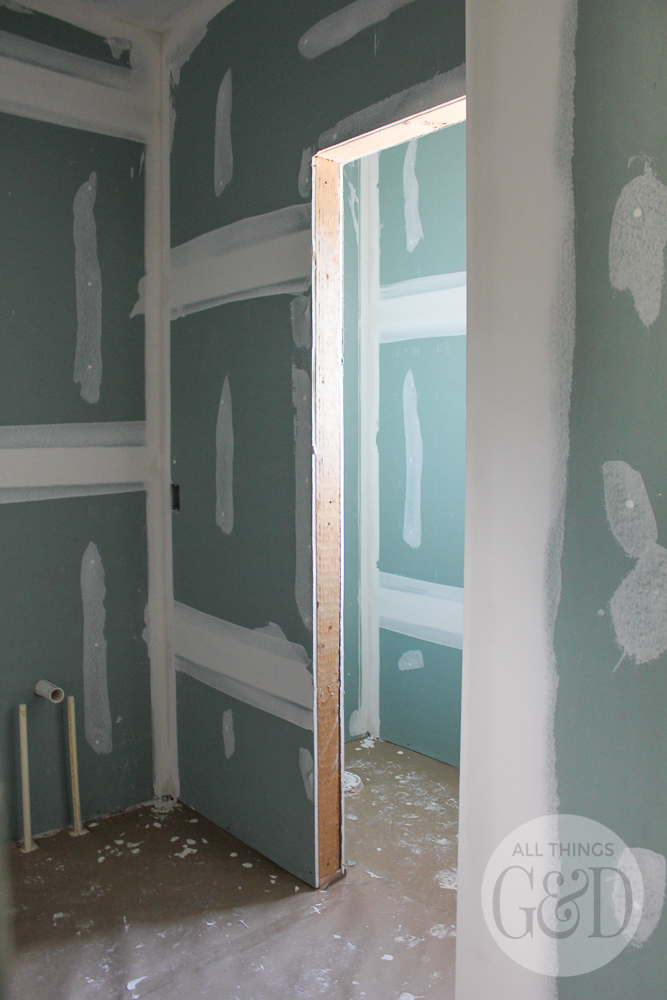
A look at that cutout/hallway straight on – G’s walk-in closet is straight ahead, mine is to the right, and the doorway to our master bathroom is to the right.
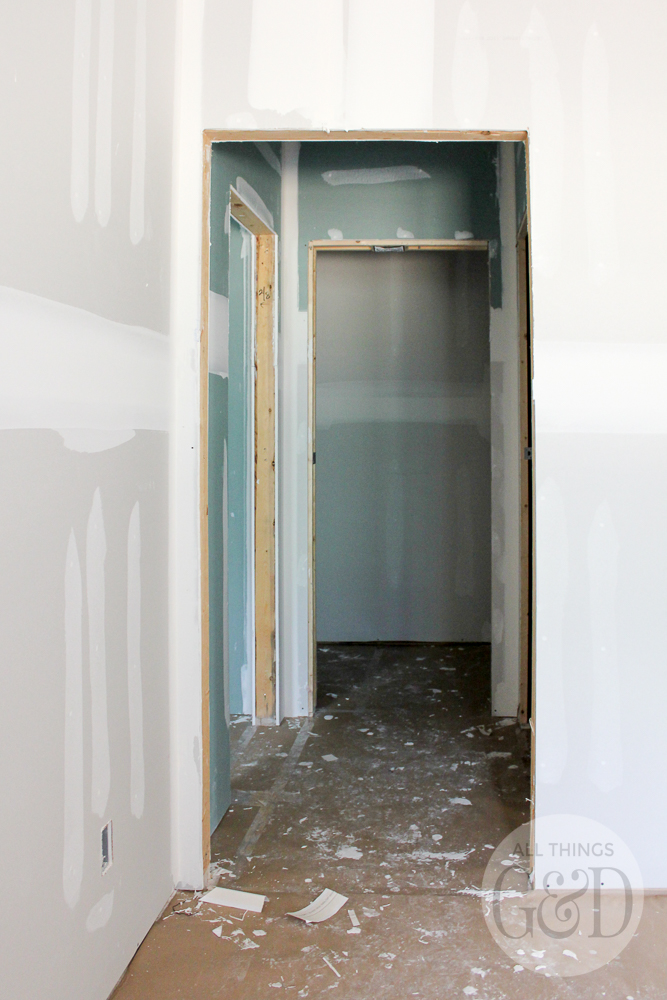
Master Closets & Doorway to Master Bathroom
A look at our master bathroom from the doorway. The main section of the bathroom (pictured below) is our double sink area (see the plumbing pipes?). To the right is a private room for the toilet, and to the left is our walk in shower.
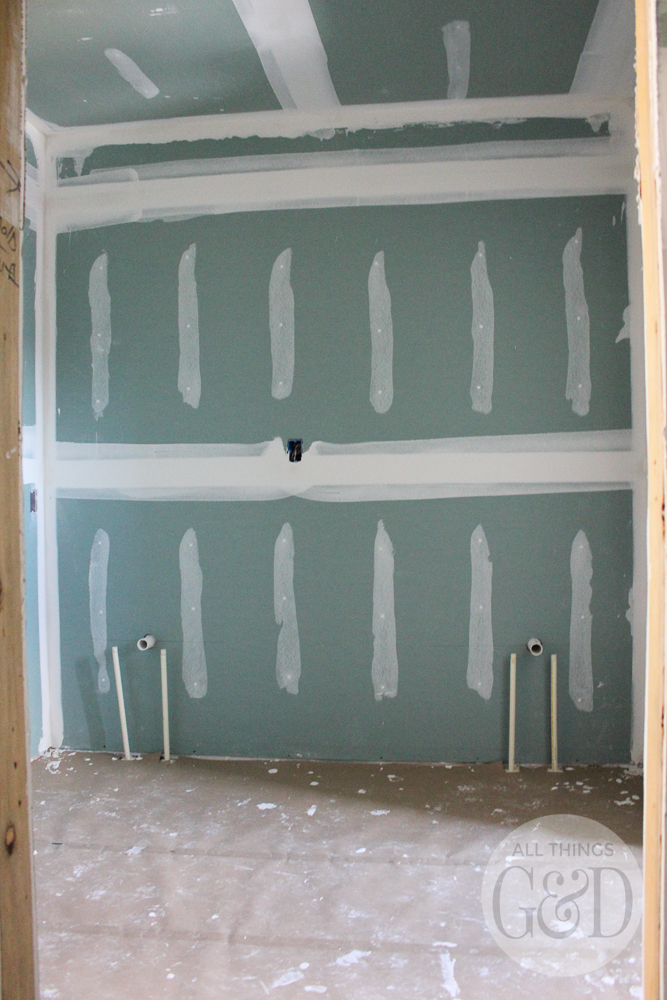
Vanity/double sink area in master bathroom.
Master bathroom water closet/private toilet area to the right:
Master bathroom walk-in shower to the left:
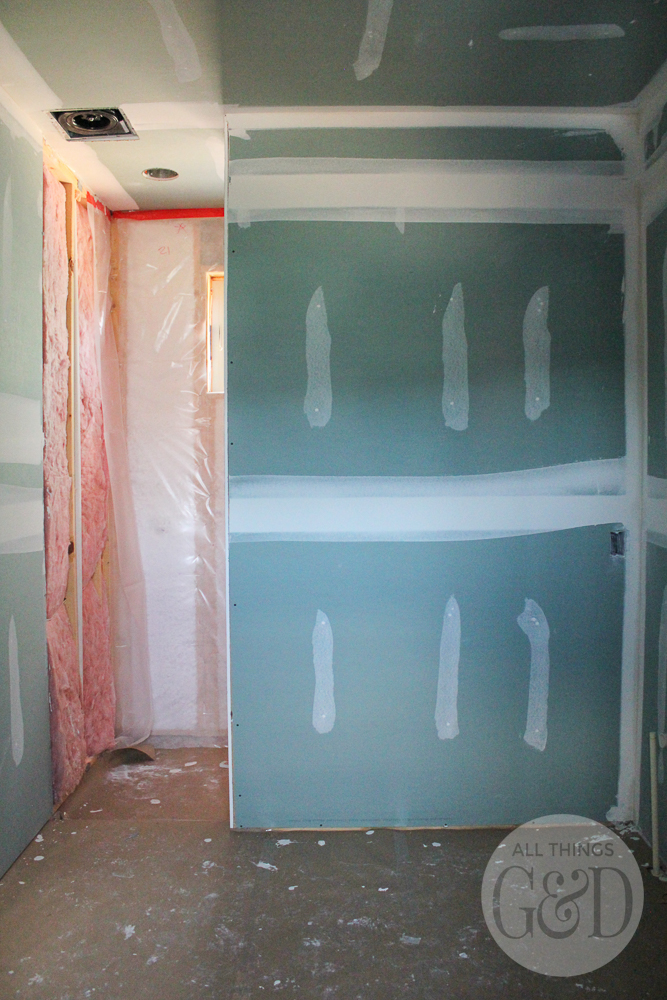
Walk-in Shower
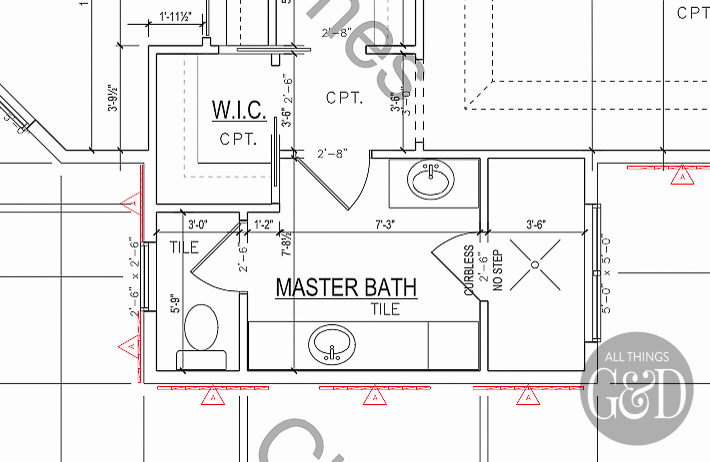
The master bathroom design is the only thing we changed in our plans once we started building. The walk-in shower was originally drawn to be the entire width of the wall above, with a glass shower door in the center. G’s vanity was meant to be on the wall to the left above, and mine was originally meant to run the entire length of the wall to the right (that whole wall two photos above).
Once I saw it framed out I realized I wasn’t crazy about our original layout. My sink and vanity area were so much longer than I needed, and I worried G’s would be too small and cramped for him. In addition, I really didn’t like the idea of a glass shower door, and could now see that our shower was easily large enough to convert into a doorless walk-in shower. So I contacted our builder and our architect, and luckily we were early enough in the process (the shower had just been framed) that they were able to make these changes without any setbacks to our timeline or our budget.
Here’s a look at our original master bathroom floor plan:
And here’s what we changed it to:
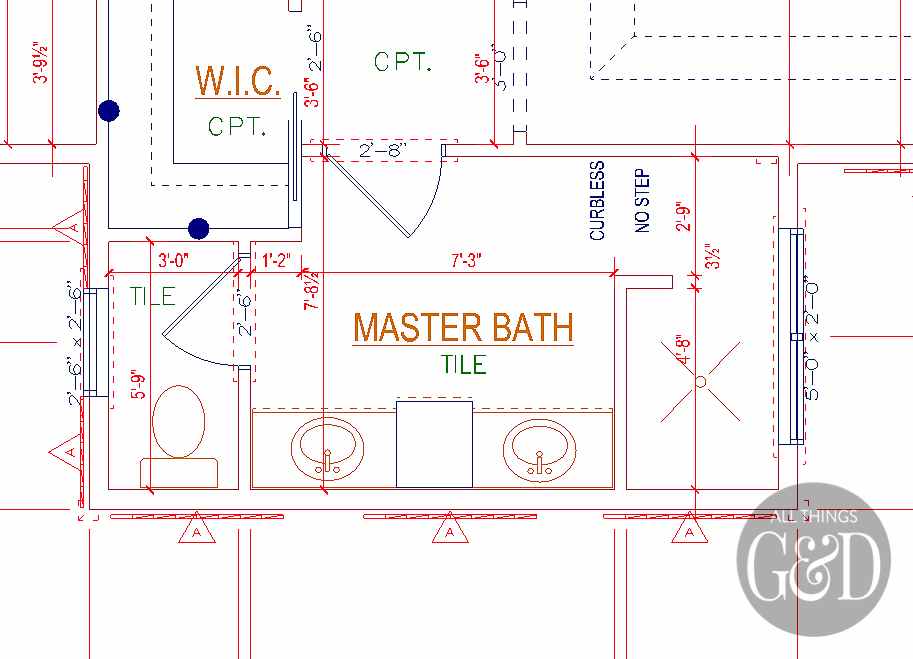
We were so much happier with the updated version!
That’s it for our main floor drywall. Coming up next – upstairs drywall!
New to the ATG&D Dream Home series? Catch up here:

Looks great! Can’t wait to see more!
Thank you so much, Ashley! Cant’ wait to show you more as well!
Gorgeous!! When we remodeled our master bath, we too did a walk in shower without a door. BEST DECISION EVER!! Can’t wait to see more of the house.
LOVE that, Pam! I’m so happy not having a glass door to clean. AND it saved us almost $1,000 removing that door!! I was really, really thrilled with that design choice and money saver.
Can’t wait to see more of the progress!! I know these posts take time to write, so I really appreciate the effort you put into them, but knowing that it’s all finished really makes me excited to see the finished product!!
So sweet of you to say, Ariadna – thank you so much! I’m very excited to share it all with all of you! Truth be told we are still in that “settling in” phase so it doesn’t seem to me like there’s a whole lot of “wow” to show you, but maybe by the time my blog gets to the final construction pics we will have more of our decor up and pulled together. In the meantime, it is so much fun going back through our construction processes and reliving it all!
Do you find your walk-in shower to be cold? I’ve always loved the looks of walk-in showers, but I hate getting a draft while I’m in the shower.
Oh how interesting. I would have never thought of that. Our walk-in shower has never felt cold to us (and we live in Wisconsin, and it’s the middle of winter). We did install heat under our tile in our master bathroom which I’m sure helps, but we don’t keep the temperature turned up that high; just enough to cut the chill. I’ll have to turn it off at some point and see if we have a draft, but I’ve never noticed one.
There’s so much I’m loving in your new house! Can’t wait to see it all decorated. I’m curious on why you chose to separate the dining room from the kitchen.
Thank you so much, Amanda! And great question. At our old house our layout was kitchen, dining area, and then living room (all in a line). I spent a lot of time in the kitchen, while G and Kate would typically be in the living room. They always felt so far away from me with the dining area in between the two spaces, and I always felt like I was missing out on enjoying their playing or what they were talking about (Mom FOMO, haha). I decided for our next house that I really wanted to have large eat-at kitchen island (eliminating the need for a separate eat-in kitchen area), with the living room right next to the kitchen. I thought it would feel more cozy to have this kind of a set up and now that we’re all moved in I really love it. The dining room around the corner is our formal dining room. We don’t have a dining room table yet so that space is currently empty, but I’m old school in that I really like having a more formal (and separate) dining area for family dinners and entertaining.
You are doing great. Love the lights. I am with you on the drywall…..hate the mess and the time it takes. See you next week.